Showing posts with label mod podge. Show all posts

Jun 16, 2012

DIY Father's Day Plaque


I made this plaque for my husband last year. I went through my files and found some precious pictures of my husband with our kids. I used picnik (which no longer exists) to tint them, but my favorite is now Pic monkey. It's very similar to picnik.


Instructions-
I cut a 1/4" thick piece of wood to 13" x 16" and painted it black (any kind of paint will do). Next, I printed and cut 14 pictures to 3"x3". Then I made an 8x10 with the quote- "Blessed is the man who fills his Arms with his Children" (I personalized it by adding Happy Father's Day and the date). I cut it to 6 1/8" x 9 1/8". I layed the pictures out before gluing them down and made light pencil marks to give myself a guide. I used Mod Podge to glue them down. Once they were dry, I thinned some Mod Podge with a little water and painted over the whole plaque, leaving a light texture (I used a wad of paper to lightly pounce over the plaque). Aaaaand, that's it! When it's finished, there's approximately (it's not perfect all the way around...and that's okay!) 1/4" around the whole outside edge.

Have fun!

Apr 25, 2012

Scrap Paper Clock Tutorial

I started with my color inspiration. These are the colors of my kitchen...
 So I found some scrapbook paper in my stash that coordinated.

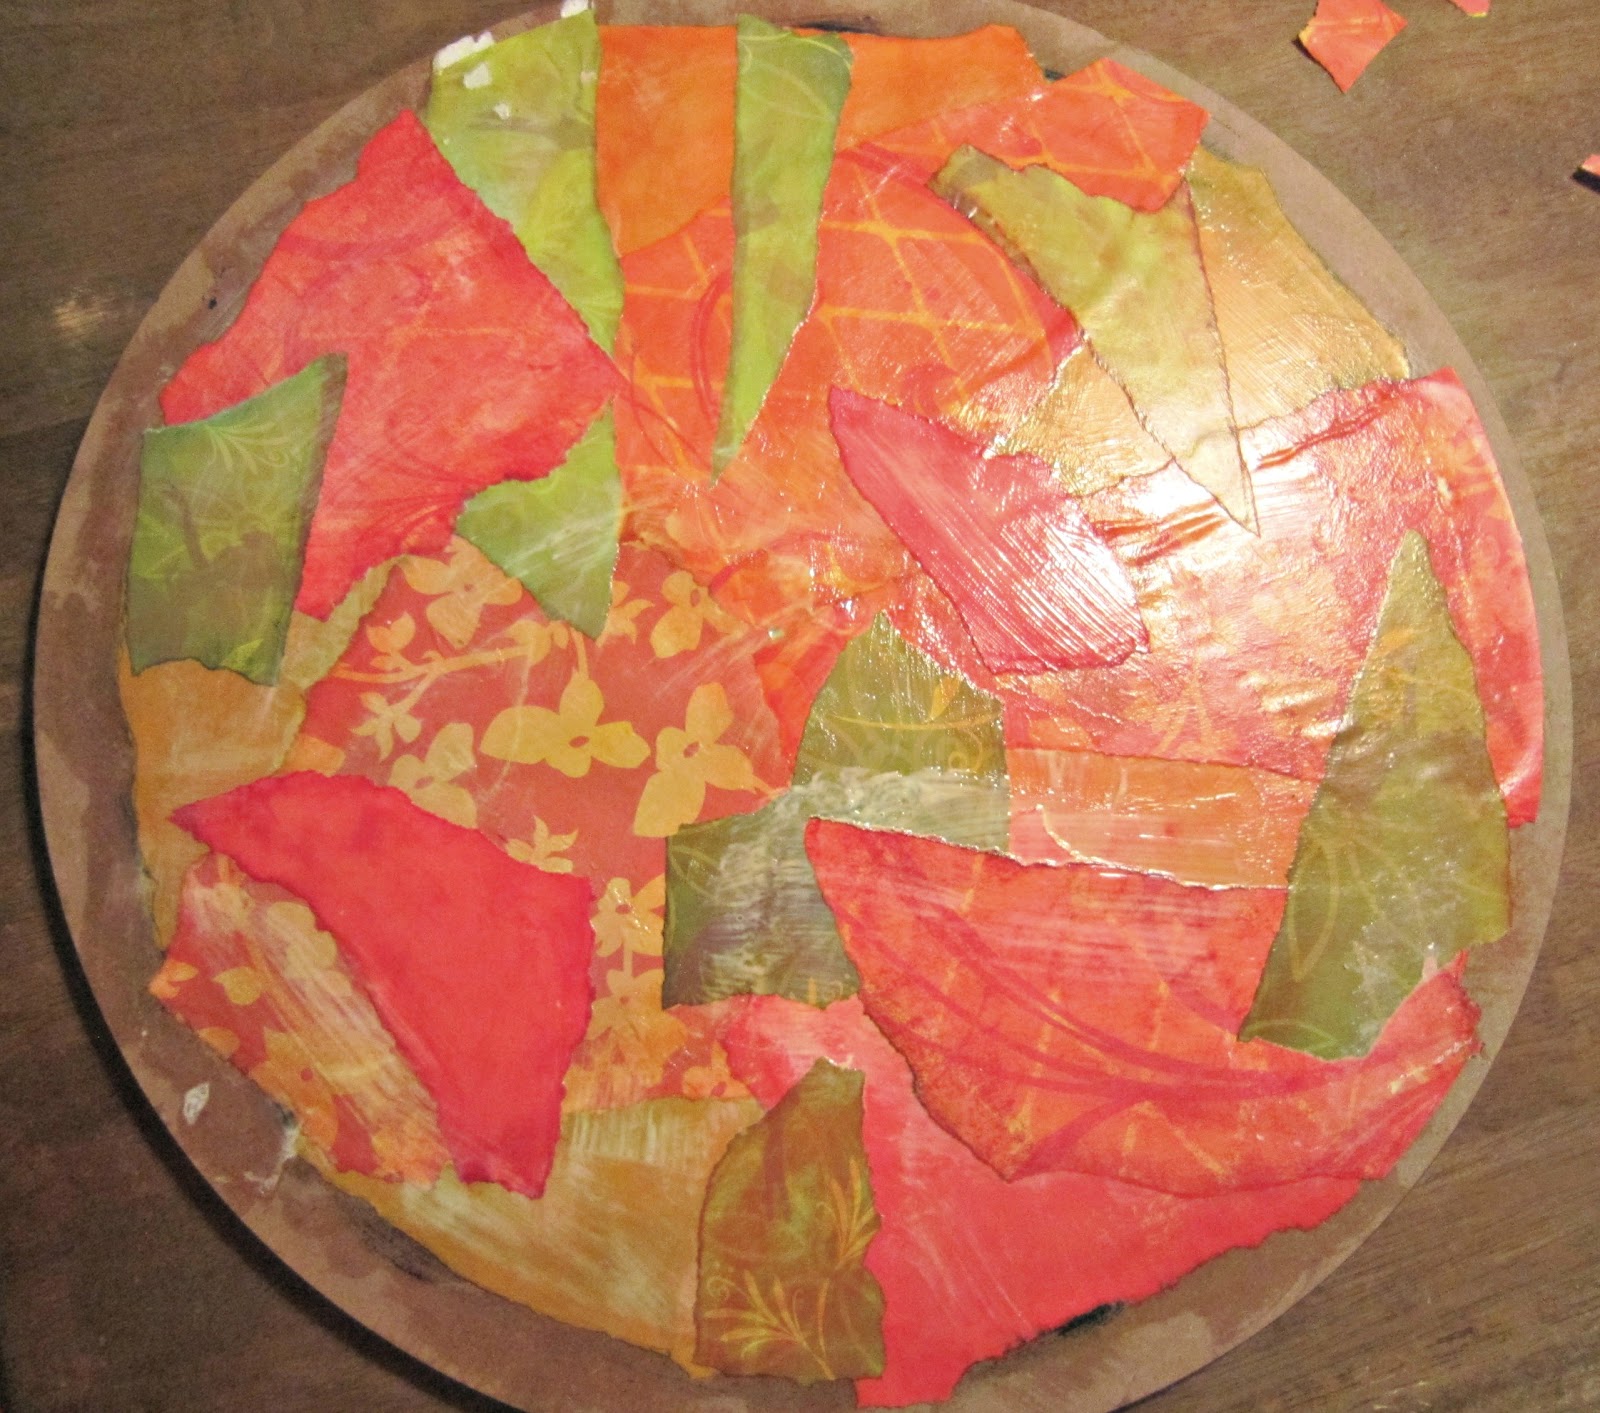
 I tore them into random pieces...
 and distressed the edges with stamps.
I bought this at the thrift store for $2.
In it's former life, it was a lazy susan that used to reside in the middle of someone's kitchen table.
I cleaned it, painted it, and removed the outside ring. I also drilled a hole in the center.
Using Mod Podge, I glued each piece down individually (paying close attention to smooth out bubbles). No rhyme or reason.
Once my clock was covered, I lightly sealed the whole thing in Mod Podge.
 I glued the outer ring back on. If you don't have one, I bet you could cut one out of posterboard and decopage that on, too.
I bought these numbers, painted them black, then lightly sanded the edges.
Then I glued them down starting with 12 and 6, then did 9 and 3.
I used these pencils to help me position them, then I eyeballed the rest. 
 
Ready for the clock gears!
 This is what they look like. I paid about $6.00 for this gear set.
It's easy to put together (they come with instructions).
There you have it--my customized clock!
 I set it on an easel. I just love checking the time now!

Jan 28, 2011

Make your pictures look hand-painted!

TUTORIAL-
Picture to Painting
 
Yes, this began as a regular photograph I took of the
St. George temple. I also re-purposed a picture frame
I already had (it used to be a bright, brassy gold).
You can totally do this, too!

I used a photo I took on my camera last fall, added some enhancements & text, and printed it out at Walgreens to a 16x20. If photography & photo-editing isn't your thing, don't worry!

You can use this picture to painting technique on just about ANY picture! You can use everything from existing family pictures, to cheap prints you've found at the thrift store!

Once you've got your picture, mount it on either foam core or wood with your favorite adhesive. I like permanent spray adhesive. It holds well and is easy to use. I also choose to use wood to back it, as it is longer-lasting and sturdier.

Now, we're ready for some texture! This is the fun part!

Brush stroke texture- I like to use artist-grade texture
medium, but if you can't find it, Mod Podge (I like glossy)
works beautifully. Using a small/medium-sized brush,
simply paint brush strokes all over your painting--following
the natural lines of your picture. For instance, follow the
lines of buildings, and stipple shrubbery for texture. Don't
use too much! A thin layer is all you need. Make sure and
Start from one edge of your picture, working until you've
covered the entire piece of art (it looks weird if it's not
completely coated). It can be time-consuming depending
on the size of your photo, but it's WELL worth the result!


Once your texture has dried, you're ready to frame your
lovely piece of art and proudly display it!
 Here's the finished product.

I have tons of un-personalized St. George Temple prints cropped to either an 8x10 or 16x20. If you're interested in using one, let me know and I can email the original to you for $10. They make awesome gifts!
I'm linkin' up HERE.
Related Posts Plugin for WordPress, Blogger...