Showing posts with label chores. Show all posts

Mar 30, 2012

How to Organize Children's Bookshelves

This was one of our bookshelves just a couple weeks ago. I had the other one on a different wall, but only took this pic, so picture this times two. That was the amount of books that lived in my 3 boys' room. Both were packed to the brim and we had no sense of organization whatsoever. I can't tell you how many times I had straightened the books up just to have them look like this again within days.
So, I was helping out in one of my son's classrooms and I couldn't help but notice how nice and organized her bookshelves were! She had a bunch of labeled bins and they looked so nice! I went right home and started looking up bookshelf organization ideas. It made so much sense!
The key is to make it easier to keep it clean than to mess it up. It's so nice and easy for kids to pull out a bin, flip through until they find the book they'd like, take it, then push the bin back in it's place. It's much better than looking at the spine of the book (kids like to see the fronts, anyway!), then pulling out a whole slew of them until they've decided on the perfect book, leaving a pile of un-wanted books on the floor. Why hadn't I thought of this before??? I've been a mom for 10 years. I've been battling with organizing my kid's bookshelves nearly evey day of those 10 years! What a waste of time; it kills me to know how much easier it could've been for me!

Let me introduce you to our new, organized shelves. I know you're thinking- Where are all the books? There's no way you fit what was crammed in the picture above (times 2) in these shelves. But it's TRUE! I DID! I only threw away a few books that had totally fallen apart and were missing pages. It's amazing how much extra SPACE we have on the shelves now!
Below is a picture I took AFTER a full day of the kids pulling out and reading books. Hardly a mess- and it only took seconds to put back.
I decided to test this new system out and see how well we could keep it up...and here we are two weeks later with perfectly organized bookshelves still!
 Since I knew it was something we could maintain, I decided to make labels for each category. I was out of my laminating sheets, so I used packing tape.
Here they are after labels-
Looks better with the labels, doesn't it?
I categorized them as-
Chapter Books, Early Reader Books, Rhythm & Rhyme books, Abc books, Bedtime Stories, Religious books, Non-fiction, Scriptures, Holiday books, Animal books, Little Golden books, Disney, Seuss, Muppets, and misc. Some of the labels were placed on the edge of the shelf itself.

 I used these wash basins from the dollar store-
 And shoe boxes-
 I found this bin for the books that didn't fit on the shelves-
 Ah, organization! :)
 I was having so much fun, I decided to put new labels on some of our toy bins.
Double yay for a system that finally works for us! I'm so happy, I could just...I don't know...go organize something else!
Now, I'm off to the girl's bookshelves!
The Contraption Clean-up Game

I have 5 kids. And yes, they are messy. And yes, they resist when it's time to clean up. It can be exhausting trying to get them to do anything. Well, a few years ago, we came up with a little game to help make cleaning up a bit more fun. We call it "Contraption Clean-up"...and my kids love it!

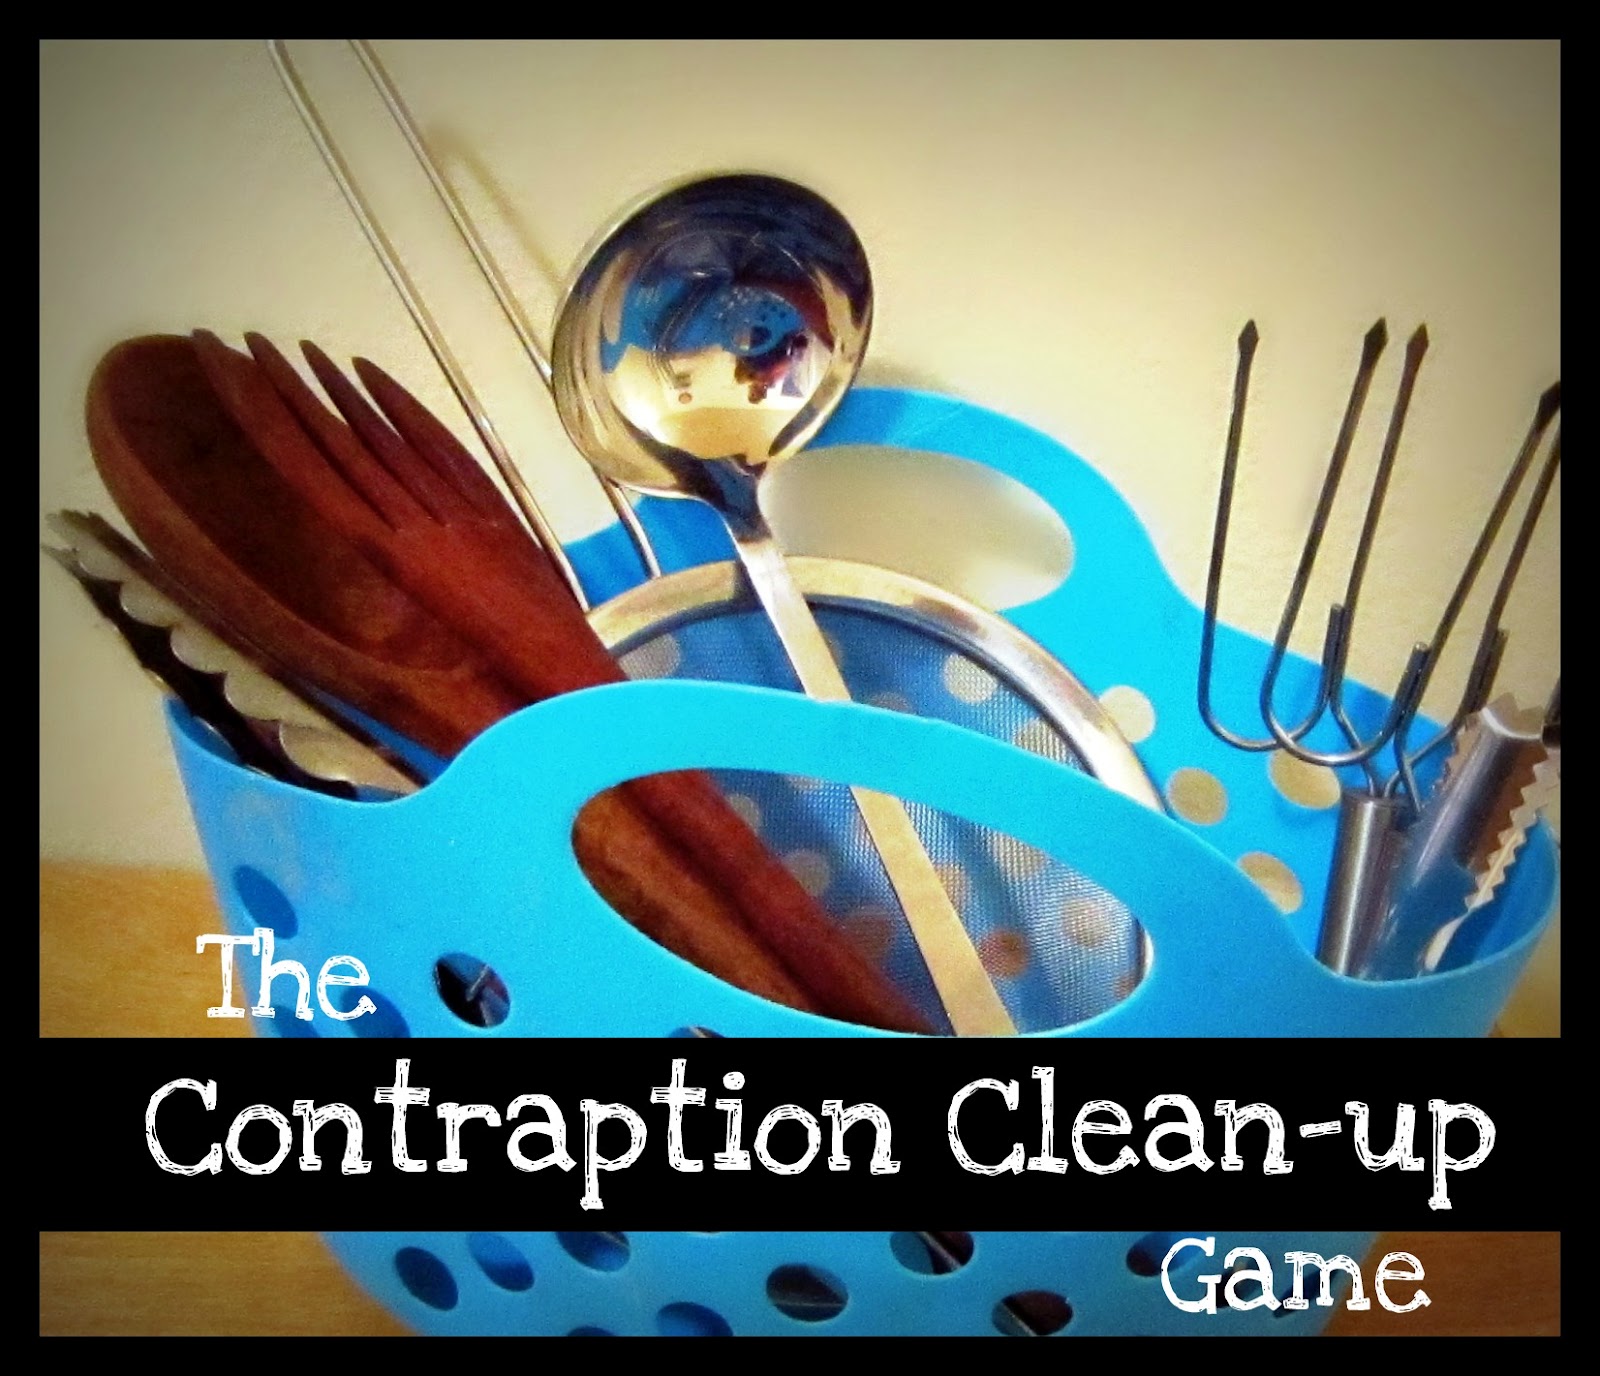
First, gather up a bunch of "contraptions" from around the house. In this picture, I raided the kitchen utensil drawer. I have a wire sieve, a ladle, wooden salad fork & spoon, small cheese tongs, big tongs, and turkey lifters. Sometimes we'll grab measuring cups, pliers, wrenches, a brush & comb, really anything. Make sure to choose instruments you're sure your kids can use safely. *Those turkey lifters are kind of pointy, but I made sure to only let my older kids use them. They're actually great for picking up laundry. Use what works for your kids.

Rules-
1. Try your best not to use your hands. You have new contraption appendages now!
2. No using contraptions on siblings.
How to play-
Have each kid grab their tool of choice (if they seem to fight over a certain gadget, explain that they'll be taking turns).

Set a timer for 5 minutes and begin the cleaning (keep track of which kid is working the hardest or keeping the best attitude). When the 5 minutes are up, all contraptions go back in the basket. The best cleaner gets to choose their new gadget first (but not the same one they had last time).

Repeat until each kid has tried each tool and you're satisfied with the clean-up. If it's a really big mess and they're losing interest, it's time to change it up. This is when we start TEAMWORK CONTRAPTIONS. Give each kid a partner. They now have to work together, using their contraptions to clean an area. Keep setting the timer and rotating tools. It's amazing how fast they'll work when there's a certain tool they really want to use the next round.

I have found that it's best to walk them through what needs to be done in the room before you start. For example- Clothes in hamper, cars in their tote, trains in a certain bin, books on shelf, legos in their bin, etc. If there's a place for everything, the kids work MUCH better. They'll probably need reminders while working, so stick around and supervise (or help).

Make sure to encourage them as they go. It's amazing how positive words can FUEL them and keep them pumped about cleaning.

Tongs-
Wire sieve-
 Ladle-
 Salad spoon & fork-
 Ladle-
Turkey lifters-
Wire sieve-

Yes, even my 3yr old enjoys cleaning up with this game. I sure love these little helpers.
Bless their little hearts, I now have a spotless upstairs!

Happy Cleaning!

Feb 7, 2011

Looking for a fun, new chore system for your kids?

TUTORIAL
Job Pockets-
***For a fun April Fools idea, scroll to bottom of post***
This is for you moms! Okay, I have to say that my house is far from perfect, but I really do give it a good effort! Living with my awesome, yet cleanliness-challenged family of 7 in very cozy living quarters can quickly take it's toll on you. If I don't get a little help from everyone, it doesn't take long before my house completely over-runs me! This system may not be for everyone. I've found that I have to have 2 or 3 different job systems to rotate between... ya know, to keep it fresh & exciting.
This is one of them that my kids have loved:
THE JOB POCKETS
Here's how to make them:
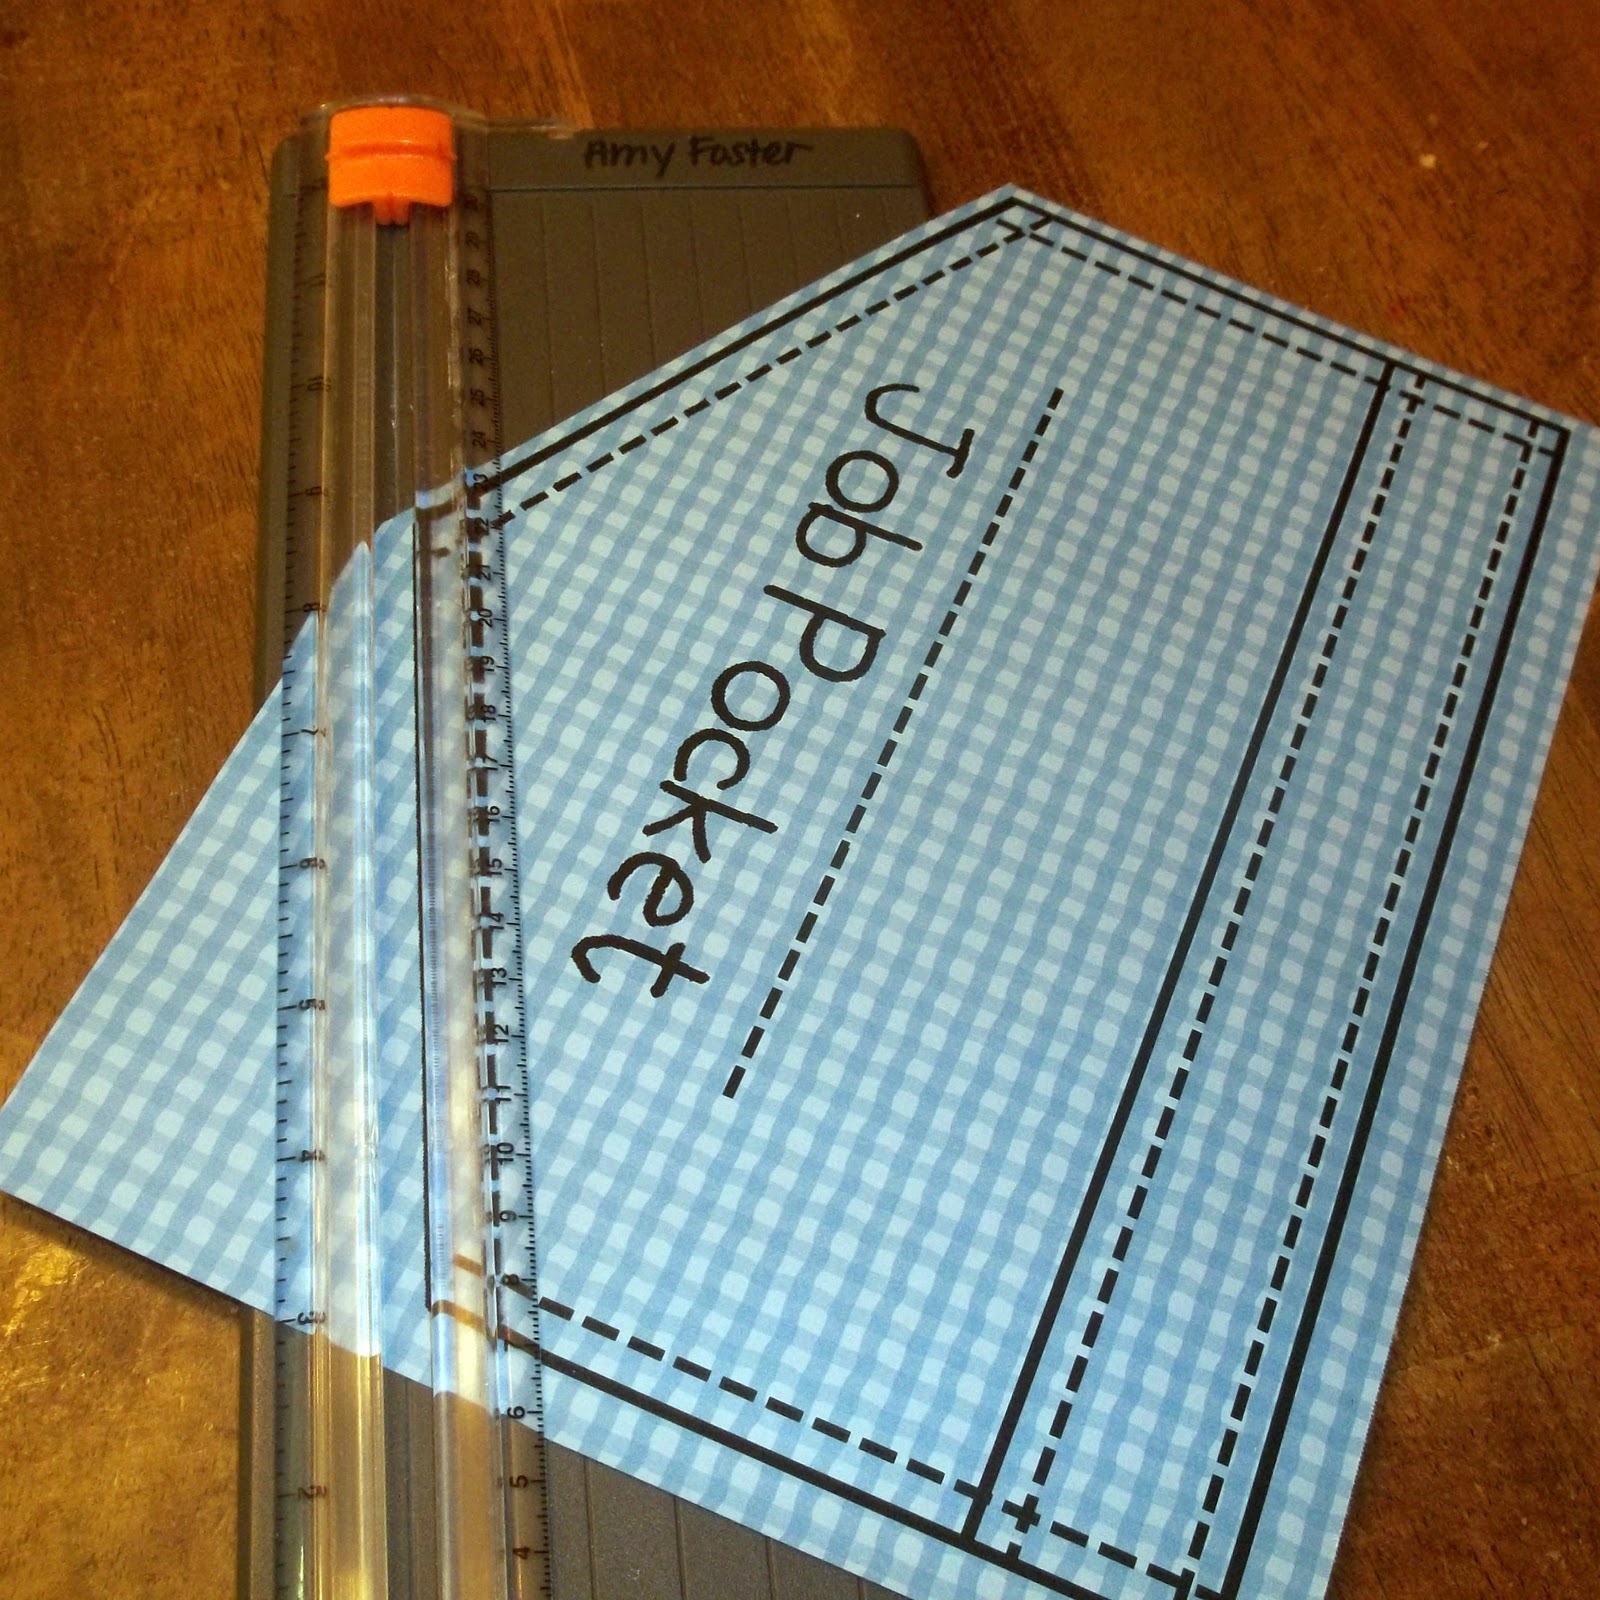
You'll need a 12x12 piece of card stock, and a regular 8.5x11
sheet of paper to print the pocket on. So, print your page...
If you want a printable version of this, just email me @
fosteramy5@gmail.com

Trim it...

Write your kid's name... or however you want to do it. I'm
choosing, this time, to combine all 3 boys on to one pocket,
 and my 2 girls will share one, as well. I'm only giving them
one job a day--besides, the regular- make bed, clean room,
do homework... for those, they use a check list. I'm making
their one job a little more detailed, though. 

Laminate both sheets. Packing tape or transparent contact
paper works perfectly, too. After you've trimmed them,
tape the bottom of the pocket in place.

Use a small hole punch in each of the 5 corners.

Secure them in place with brads.

Cut & place sticky-back Velcro on the top of your pocket.

Print out your jobs. If you'd like to use mine, I'd be happy
to email that to you, as well. Otherwise, make your own
jobs that will work for your house. I'm only giving my kids
 one "big" job a day---besides, the regular- make bed, clean
room, do homework... for those, they use a check list. I'm
making their one job a little more detailed, though. I put
stars on the bottom so when they're done, they can put
their job inside the pocket--upside down so the star shows.

Trim to 3 3/8" x 8 1/2", laminate, and place the other side of
the sticky-back Velcro on the back. Don't mind the ugly
backs to these! I'm re-using old pages. Haha! Yeah, I guess
I'm pretty thrifty. Hey, but I'm also keepin' it green!

This is what it looks like when you're done! Once they've
completed their job, they stick it in the pocket & proudly
display their star!

This is what I like to see! You could also use a point-
system to go along with this and make each job worth a
certain amount of points. You could write the points
on the stars. Once a week, they can use those points
to exchange for a little allowance or prize or something.
 ***Wait, I have to show you what I did last year for April Fool's Day (seriously one of my FAVORITE holidays)! I gave them each silly jobs. I obviously did it as a joke, but they actually ended up doing some of them! It was hilarious!
Last year, I gave
each kid 3 EASY
jobs a day. I kept
all the pockets
together in one
column. I also
made an extra
pocket to store
the extra jobs in.
 I wrote jobs like:
Pay the bills, Drive the kids to the park, Mow the lawn using scissors, Wash your clothes by hand, Sweep the driveway with a toothbrush,  Jump on the trampoline without stopping for 20 minutes, Touch your nose with your tongue, Tickle Elmo, Count your toes, Sing an opera song--mom's choice, Bark like a dog 10 times, Smell your baby sister's diaper bum, and more. They got a kick out of them!
GOOD LUCK! I hope this works for you!
I'm linkin' up HERE.
Related Posts Plugin for WordPress, Blogger...